A Step-by-Step Tutorial on Using a Hose Crimping Machine
Published On: Jun 02, 2023 by Pathak
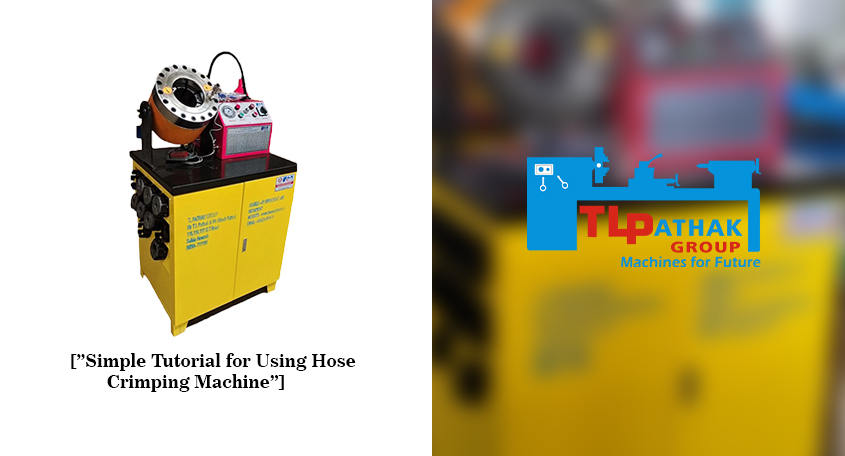
Title: A Step-by-Step Tutorial on Using a Hose Crimping Machine
Introduction:
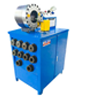
In this step-by-step tutorial, we will guide you through the process of using a hose crimping machine to create secure and reliable connections between hoses and fittings. Whether you're a beginner or looking to refresh your knowledge, this tutorial will help you understand the essential steps involved in using a hose crimping machine effectively.
Step 1: Prepare the Hose and Fitting Assembly
a. Ensure the hose and fitting assembly is clean and free from any debris or contaminants.
b. Cut the hose to the desired length, making sure the ends are square and free from any fraying.
Step 2: Select the Correct Crimping Die
a. Choose a crimping die that matches the specific hose diameter and fitting size you are working with.
b. Ensure the die is properly installed in the crimping machine according to the manufacturer's instructions.
Step 3: Position the Hose and Fitting Assembly
a. Place one end of the hose onto the fitting, ensuring it is fully inserted and properly aligned.
b. Slide the ferrule or sleeve over the hose, positioning it against the fitting collar.
Step 4: Position the Assembly in the Crimping Machine
a. Place the hose and fitting assembly into the crimping machine, ensuring it is centered and aligned with the die opening.
b. Ensure the assembly is securely held in place, either by manually clamping or activating the machine's clamping mechanism.
Step 5: Crimp the Assembly
a. Activate the crimping machine according to the manufacturer's instructions.
b. The machine will exert pressure onto the ferrule or sleeve, compressing it onto the hose and fitting assembly.
c. Allow the machine to complete the crimping process, ensuring the specified crimping time has elapsed.
Step 6: Inspect and Test the Crimped Connection
a. Carefully remove the crimped assembly from the machine.
b. Visually inspect the crimped connection for any defects, such as incomplete crimps or visible gaps.
c. Perform a pressure or leak test to ensure the connection is secure and leak-free.
Step 7: Repeat the Process for Additional Connections
a. If you have more hose and fitting assemblies to crimp, repeat the steps for each connection.
b. Remember to select the appropriate die size and ensure proper alignment and positioning for each assembly.
Conclusion:
By following this step-by-step tutorial, you can confidently and effectively use a hose crimping machine to create strong and reliable connections. Remember to adhere to the manufacturer's instructions, maintain safety protocols, and regularly inspect and maintain your crimping machine for optimal performance. With practice and attention to detail, you will master the art of using a hose crimping machine and achieve professional-quality hose assemblies for your specific applications.
Lastest Articles
-
Embracing NC Hydraulic Press Brake Technology in Middle East Factories
Being a prominent center for indust... -
What machines are used to set up an Electrical Modular Box Plant
Attention all aspiring entrepreneur... -
Manual Process For Making Steel Almirah
Steel almirah are not only durable ... -
Semi Automatic Almirah Making Machines
Streamlining Production Processes w... -
Steel Almirah Manufacturing With Fully Automatic High Precision Machines
Welcome to the world of precision a... -
Unlocking the Power of Precision Understanding the Purpose and Functionality of Drilling Machines
A drilling machine is a tool used f... -
A Beginners Guide to C-Frame Presses for Industrial Applications
Welcome to the world of C-frame pre... -
Busbar Machine Applications in Automotive Manufacturing
Busbar Machine Applications i... -
How Busbar Machines Contribute to Electrical Safety and Reliability
How Busbar Machines Contribute to E... -
A Beginner's Guide to Busbar Fabrication and Assembly
A Beginner's Guide to Busbar Fabric...


